This is going to be the same deal as the previous page, but a little more time consuming. We are going to do a pre-run process.
WE'RE STILL READING THROUGH THE ENTIRE PAGE BEFORE SEWING RIGHT?
- Go slowly because of the
thickness of the materials you are sewing. The feed dogs will not sync
with the exit time of the needle. It will bend the needle over a period
of time on a home sewing machine. This is inevitable. That's why we
have a 10 pack of needles. You can massage the needles straight if you
pay close attention to the feel of the machine. You'll know it's too
late when the needle hits the side of the feed dog plate. If and when
you hit the plate, replace the needle and set the old one aside
(there's a chance we can massage it straight and sharpen it with
a diamond file.
- Do not push or pull the materials through the feed. This will cause the above.
- Set your pressure foot so that it is firm, but not excessive, when it compresses the materials onto the feed dogs. Too much and you'll bind. Too little and you'll wander.
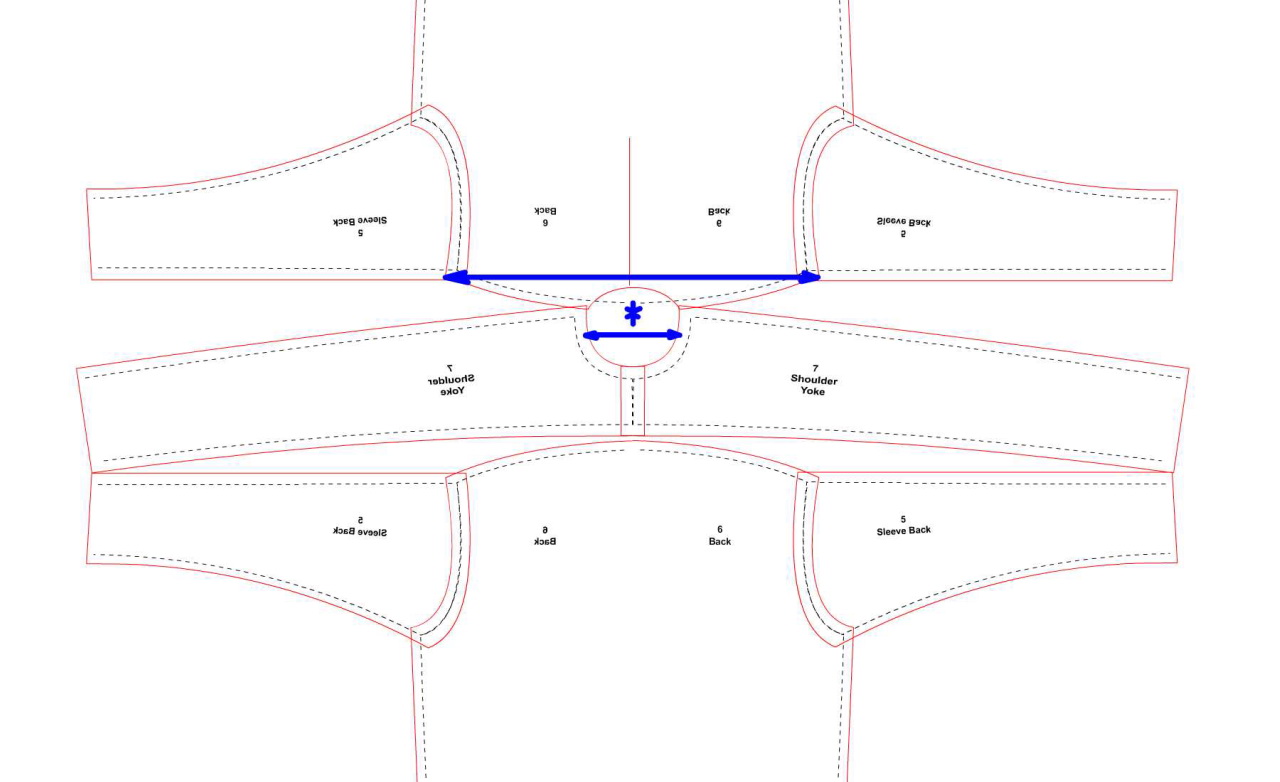
As we did with the liner, sew arms to body panels then sew those to the yoke..
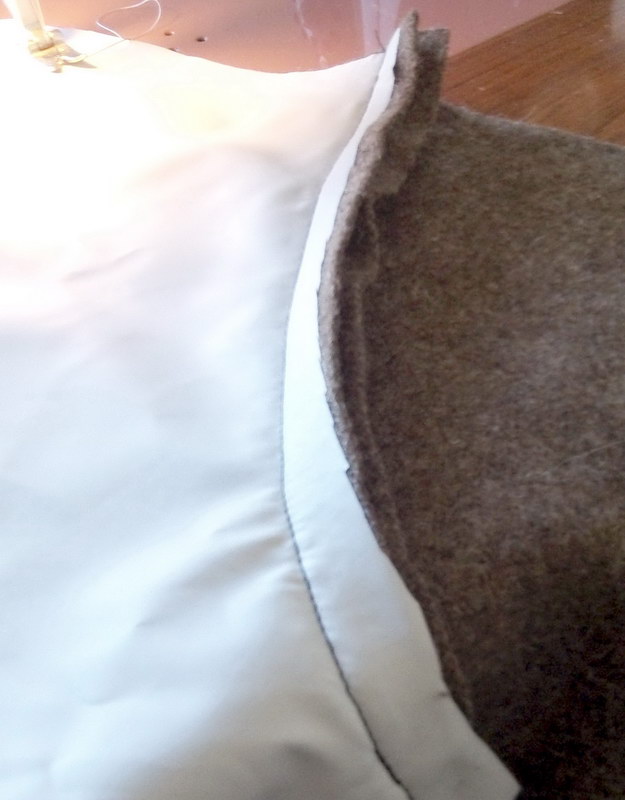
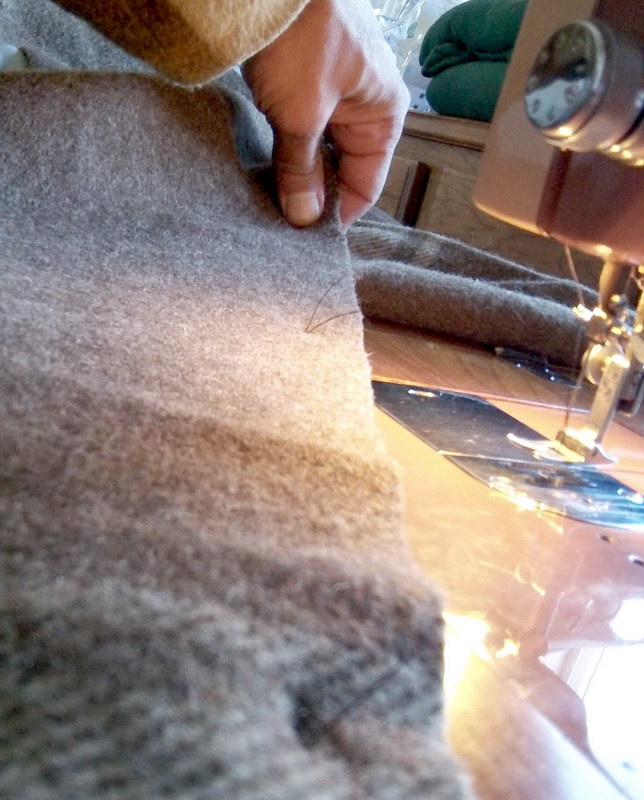
I prefer to have the wool on the dog side... meaning the bulk of the
material will be on the left side of the machine. Doing it this way
leaves the laminate side (if you have chosen to use a laminate) up with
its resistance against the bottom of the pressure foot. See the little
bar-tack at the bottom... stay in the habit!
TIP:
- Although the pressure foot is slick on the bottom, the laminate side may bind (it did for me). To resolve this problem i sprinkled a little baby powder on my hand and swiped it on the rubbery side of the laminate. Ashes will work also, just remember keep your hands clean before continuing.
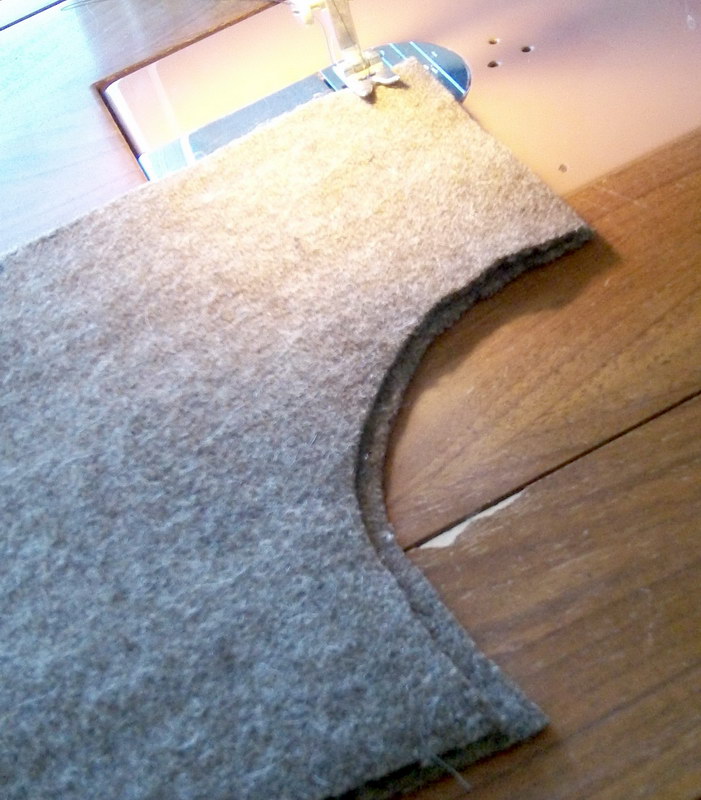
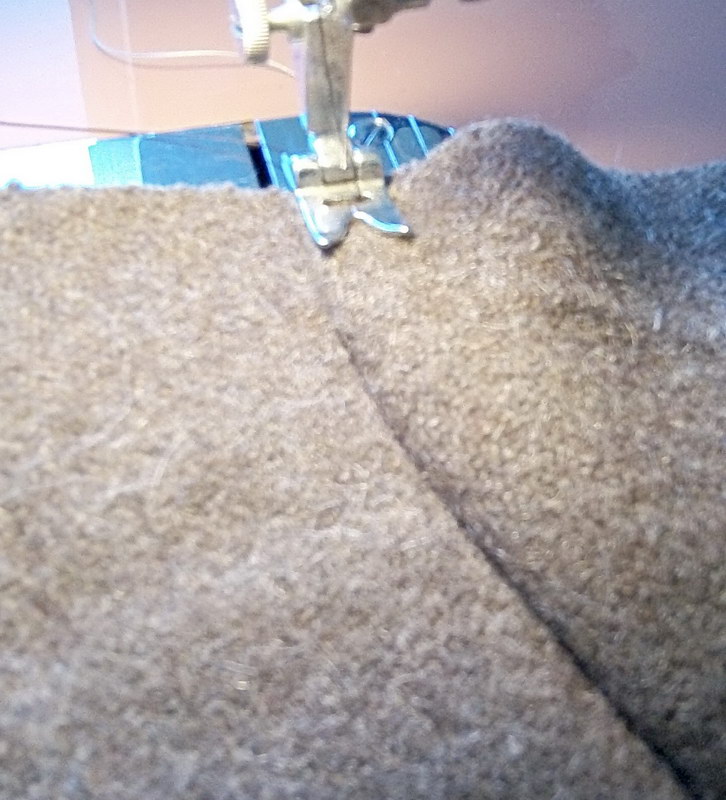
Sewing the yoke. Please note this is shown without the laminate taped to it.
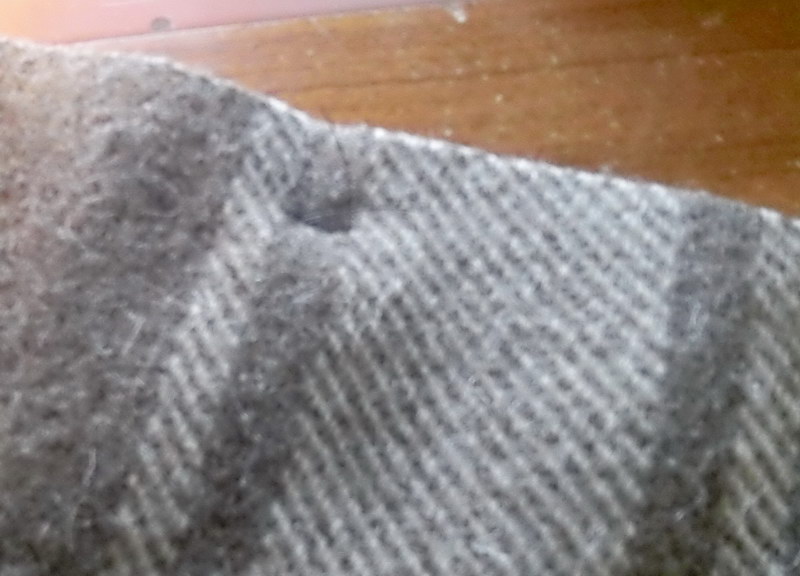
When i'm sewing the seams on long runs of blanket wool (arms, sides
etc), it's a good idea to pre-tack areas where a pattern will meet
another pattern on an adjoining piece.
When we tack the wool at pattern locations (about 1/2" in from edge),
we can get an idea of how much bunching will happen over long runs.
Wool is stretchy. As the feed dogs pull through, and the pressure foot
applies resistant pressure, the wool panels can misalign causing the
patterns (in this case, the lighter colored bands) to offset by as much
as an inch over a 20" run. This looks tacky on a finished product.
In this wonderfully blurry picture, which doesn't look any better with
glasses, we are doing our topstiches as we did with the liner. The
allowance is folded to the right (towards the sleeve side). Looking
closely, you can see that the left edge of the foot is in line with the
edge of the original seam. Use this as a guide and you'll get perfect
1/4" topstitches every time.
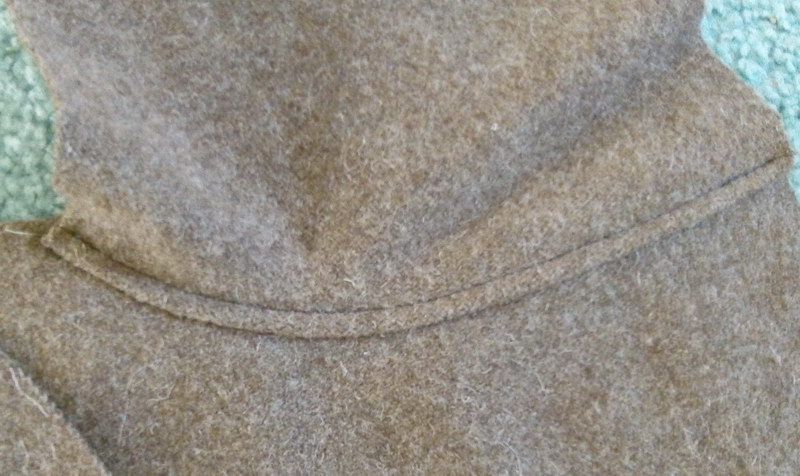
Moving along, topstitch all the applicable panel junctions. Bar-tack starts and finishes!
Looking at your heavy wool designer poncho now. You can sew the
underside of the arms (from where to where?... armpits to cuffs!), but
do not sew the body panel sides together yet. We may be adding some
places to put stuff.
Let's do some figuring on where we want to...
Add some Pockets >
______________________
MENU:
Jackets
and Pullovers
Hats and Headbands
Mittens
Bags and Cases
Sheaths and Knives
Miscellaneous
HOME
omnabashi@gmx.com
