Why don't we figure out how far down our butt this hem should hang.
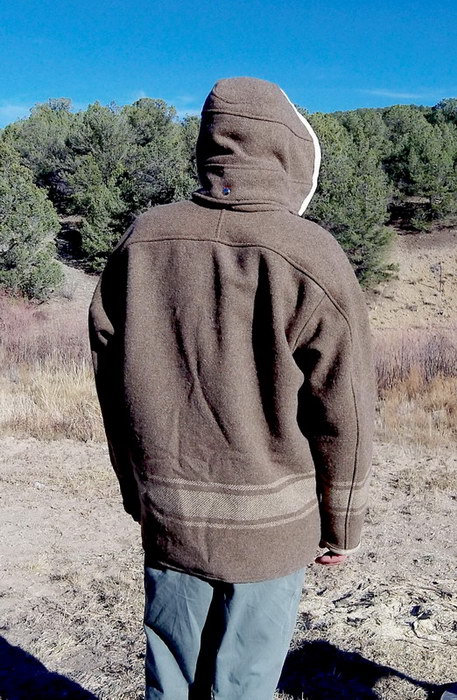
I chose to keep quite a bit of the lower panel areas. It covers all the
way to where my legs meet my butt. No one likes a cold butt!
Some things to keep in mind:
- Because of the thickness of this jacket (and the tighter cut towards
the hips), leaning over and touching your toes is more difficult with a
longer body style. The binding around the waste when leaning over, to
an extreme, makes you have to throw an extra 10% of effort.
- Longer body will keep more heat in and more cold out. Think of it like a peacoat.
- Shorter body, 1-2" below hips, allows better movement during activities that require flexibility and movement.
To get a good idea of what each is like, fold up the body panels, pin them, and do some of the things you would normally do.
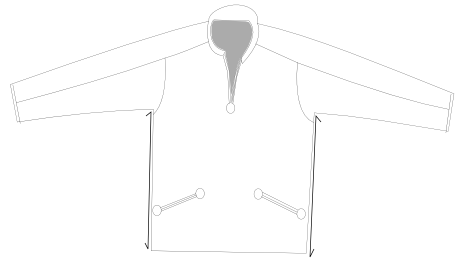
- Measure from the armpits (yeah, that area where all the seams meet)
to where you've decided to make the hem. Make sure both distances are
the same. Check it twice.
- Now add 1" to the length.. This extra inch is going to be folded up into the underside to give us a clean hem edge. If
you're thinking about trimming this out in leather... make a sacrifice
to your favorite apparel god, grab a few more beers, and set aside
several more hours. oh yeah, don't add the inch. It will be just like doing one big cuff!
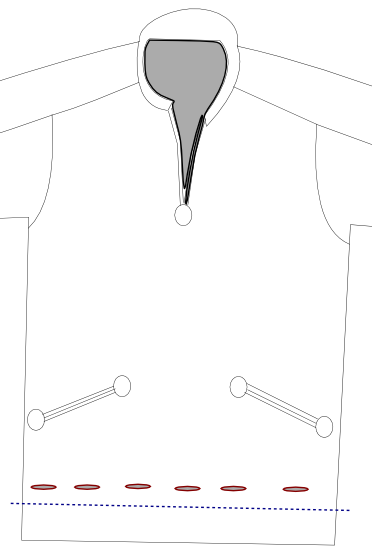
Let's put the coat back on and grab some safety pins (about 10-12).
We're going to need to tack the liner, laminate, and wool shell
together to keep it from shifting when we make our proposed hem cut.
The Red ovals are safety pins. The Blue dashed line is the proposed hem line.
- Start by jumping up and down with the jacket on. Get it to settle. Give a few tugs around the lower edges to make sure the liner is settled in and not sticking to your underlayers.
- Put some safety pins above the proposed cutline. Jump around a little
more and make sure nothing has moved around on the inside of the
jacket. Finish adding safety pins to the front. They don't have to be
in a perfect line, just a little above the cutline.
- Get a friend and have them add safety pins to the backside of the
jacket. If they poke you, smile and smack them upside the head!
- Take the jacket off and lay it down on a flat smooth surface. Smooth as many wrinkles out of the jacket starting from the shoulder and moving towards the cutline/hem area.
- Lay a yard stick, or something straight, across the tick marks you
made when measuring from the armpits and connecting the marks with a
permanent marker.
- Cut along your line.
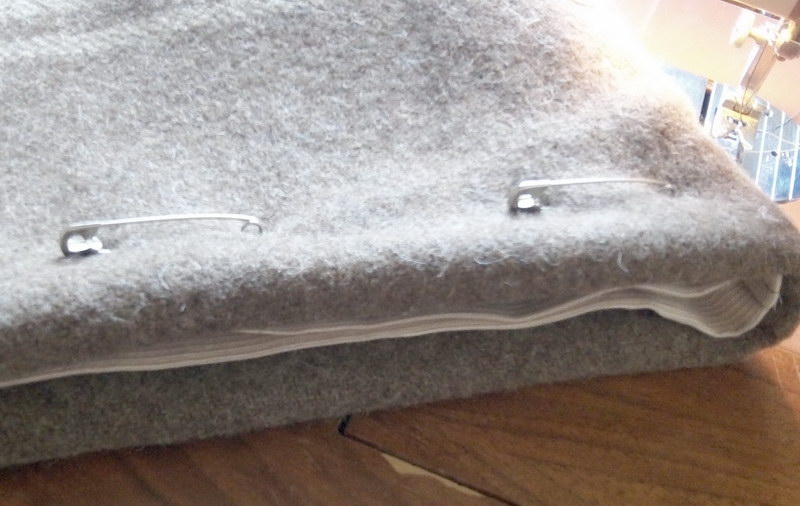
This illustration shows the jacket hems folded proper and re-pinned... ready for sewing.
- With the jacket laying flat, Fold the edges of the wool/laminate inward 1".
- Fold the liner inward and toward the shell.
- Remove safety pins and re-pin through the newly folded layer. Do this sequentially by removing one and replacing one so that you don't lose your nice folds.
****************
At this point We have the ability to increase the warmth by creating a space to add insulation.
Insulation that can be almost anything at hand.
- Pine needles
- Shredded cardboard or paper
- Other pieces of clothing
- Marshmallows
- Your ferret colony
- Moss
Anything with any insulative value can be used to turn a 0deg. anorak into a sub freezing survival Parka!
By sewing a Hook & Loop/Velcro strip to the inside of the wool
shell (the side we folded inward), and to the outside of the liner
(inward side), we can make a sealable opening that allows access
to the space between the materials.
I don't have any examples present. Ask someone. I tried to come
up with an illustration but it looks like the bad guy in a horror movie.
****************
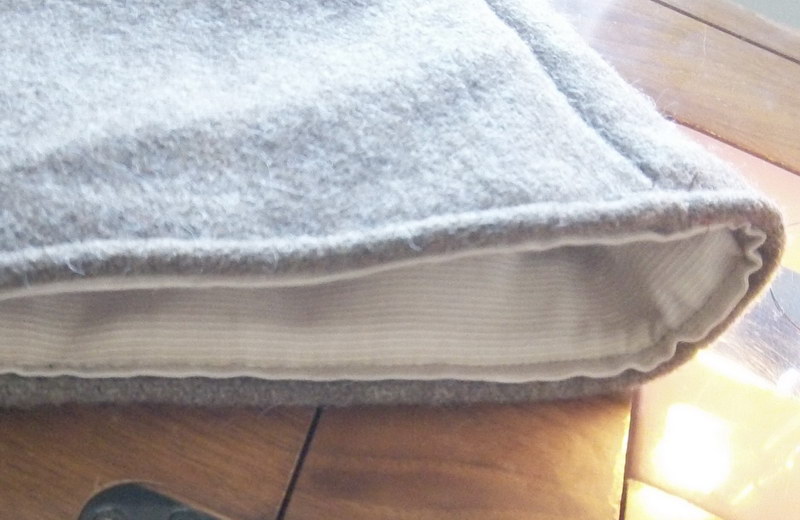
We'll continue by...
- Starting from the center of the front body panel and working towards the side body seams. Start 1/4" in from the folded hem.
- After you've done a single stitch to both front seams, Flip the
jacket over and observe how much extra liner there is as compared to
the shell!... No worries, fix on the way...
- Now, we're going to start from the body seams and work towards the
center of the back panel. Make a tick with a marker so you know when to
stop with your seam (could be your sewing skills are better than mine
and you don't have a larger diameter liner hem).
- Sew from the side seams towards the center stopping about an inch before your center mark.
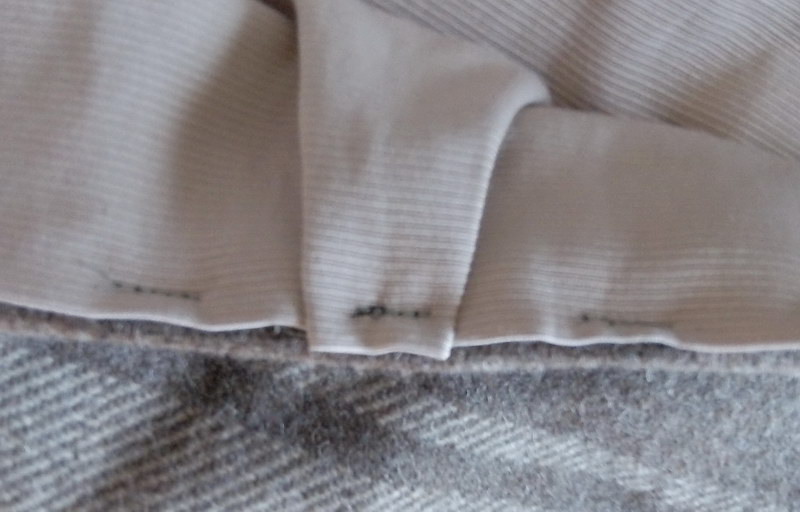
Now you can make an inverted pleat and sew a tack to keep it in place. Finish your lines out...
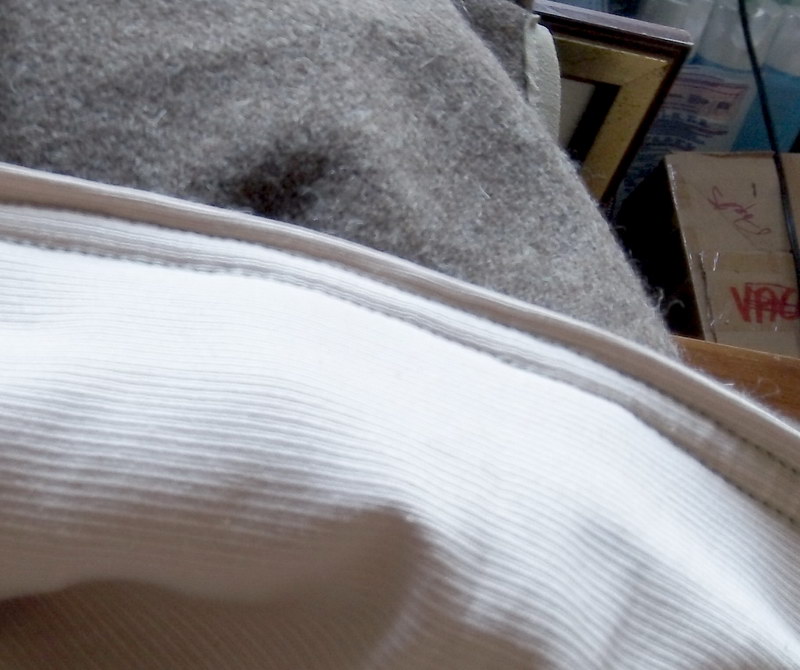
... and sew another stitch 1/4" up from the last stitch... all the way
around (you can start from anywhere, but the side seams make a good
starting point.
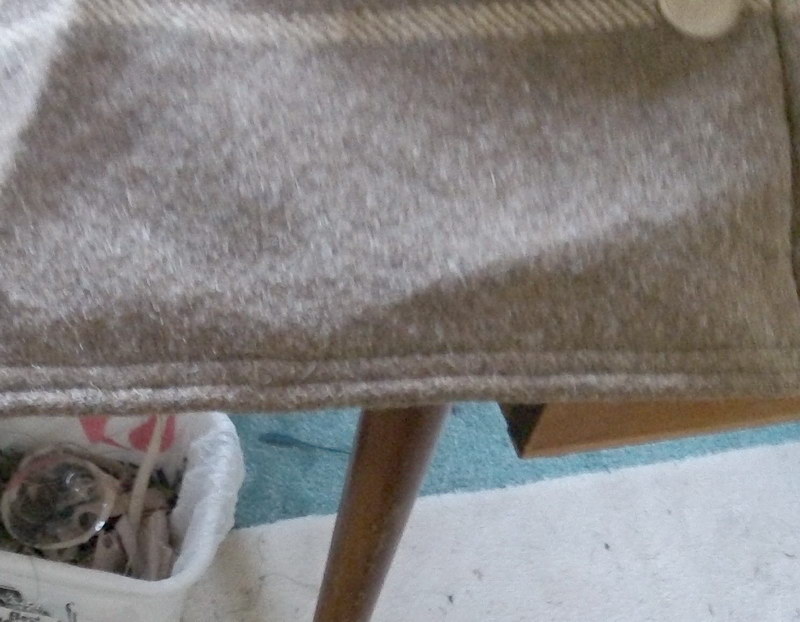
Looks something like this on the front.
Now the only things missing are a hood and a little hardware.
How many ways can we...
Hardware mayhem? >
______________________
MENU:
Jackets
and Pullovers
Hats and Headbands
Mittens
Bags and Cases
Sheaths and Knives
Miscellaneous
HOME
omnabashi@gmx.com


