Our final arm length needs to be taken into careful
consideration. Our flexibility (or lack thereof) can make clothing
comfortable in some situations and a Pain in the butt under other
circumstances.
Some things to think about:
- Longer sleeves are convenient to tuck hands up into (and keep the
backs warm) but they also get into the way at times we don't (washing
hands in a stream and the cuffs get wet).
- Shorter sleeves stay out of the way, but do less to protect hands and
wrists from the cold. Shorter is a term relative to preference (some
like sleeves to hit the base of the hand, while other prefer wrist
only).
- Cuffs do not have to be equidistant from the tip of your fingers
either. They can be angled to protect the back of the hand more and
impede the palms less. Rotation of the wrist can offset this value by
hindering thumbs when palms are flat up.
- Thumb holes are a pretty neat idea, but the materials we are using don't make this a valuable asset.
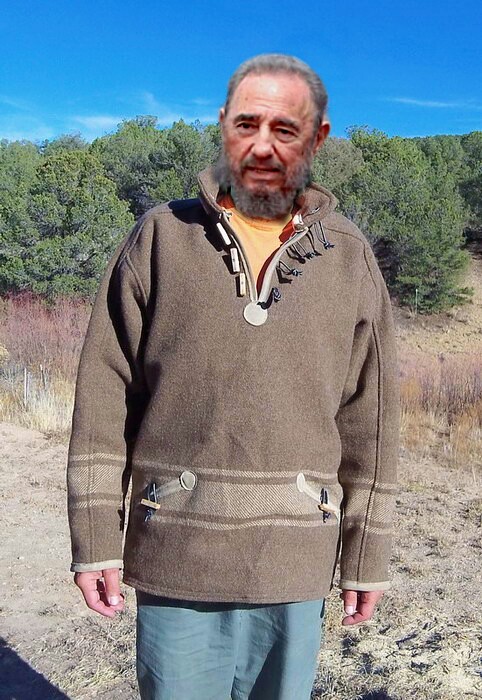
All said and thought about, i chose to have the cuffs hang just above
the first knuckle on the thumb (the big one closest to the palm).
This gave me all of the benefits listed above with only a few minor inconveniences...
...But remember when we made our sleeves and measured the cuff diameter
to match that of our forearm? Turns out there's more than a little
reasoning behind that.
When the sleeves are pulled up, and the cuffs are around your forearms, they stay there (and out of the way)! No more wet cuffs.

Take a look at Fidel's hands and see how the cuffs come right to the big thumb knuckle.

So, let's:
- Put the coat on and get a good idea of where the
cuffs will be. Move around in it. Jump up and down. Get it set
perfectly on your shoulders so that everything feels even. Then...
- Mark the left and right sleeves at the knuckle with a permanent maker (make a dot)
- Remove the coat.
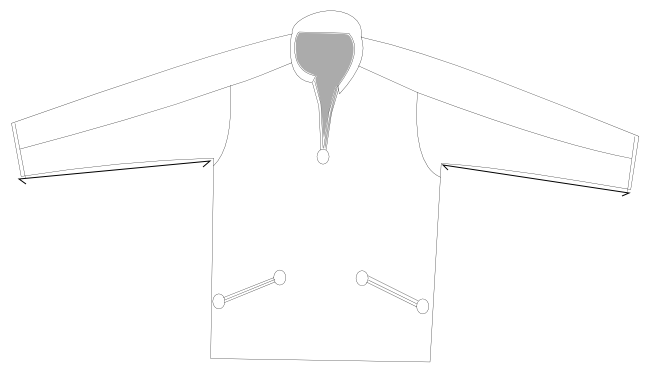
- Take a measurement from armpit to cuff on each side to verify that
your not making one arm bigger than the other. If it's the same...
- Fold it in half on the body's centerline and see if the marks we have are the same for both arms.
- If something doesn't match up, use the mark on the cuff which corresponds to your handedness (if your right handed use the right cuff mark as your reference).
- Measure the distance to this mark and then use that distance to mark the other sleeve length.
- Put the coat back on.
- Get a few clothes pins or something similar and pinch off at the
marks (in the same place on both sleeves) while wearing. Does it feel
the same when you move around? If so, you can continue.
There's always the possibility one of your arms is longer than the
other. A broken arm when you were younger, or injury to the shoulder
can affect how the jacket feels. GO WITH WHAT FEELS COMFORTABLE FOR YOU. iF YOU ARE MAKING THE ANORAK FOR SOMEONE ELSE, GO WITH WHAT FEELS COMFORTABLE FOR THEM.
Just remember that the more you screw with it trying to get that
'perfect' fit, the greater your chances of creating a mess from which
you'll have to start over. Keep it simple.

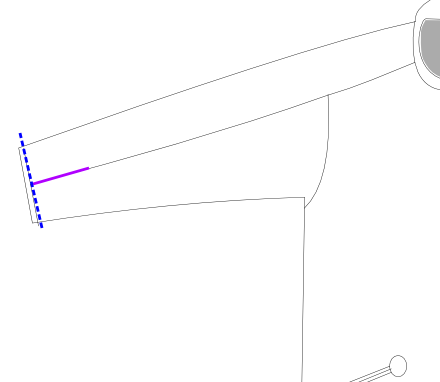
We can now cut our sleeves to length
by laying them flat and cutting perpendicular to the topstitch where
the yoke meets the front arm panel. The PURPLE line is the yoke topstitch from which we will create a perpendicular cutline. The BLUE dashed line is our actual cut. Your cutline may differ by being closer or further away from the armpit.
Do this to both cuffs.
At this point we can justify why we added so many tacks when we were sewing up the sleeve panels!
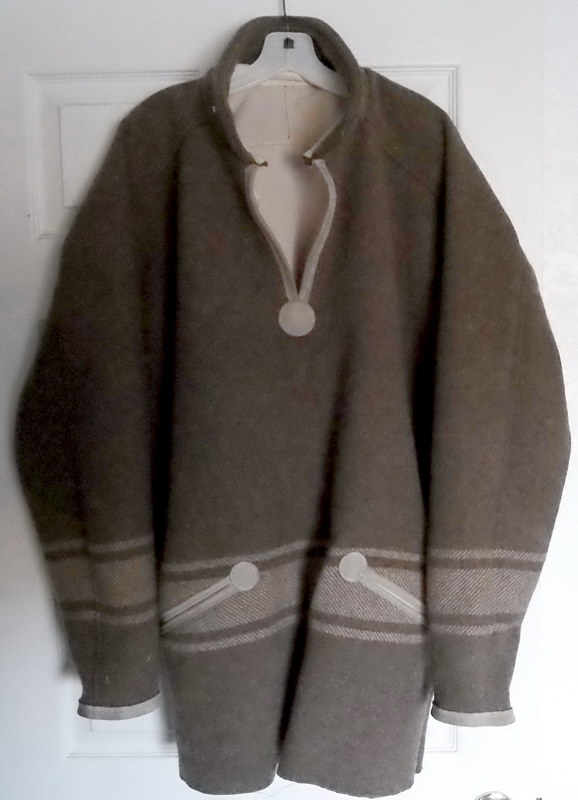
We can now add our leather trim.
This is accomplished in the same manner as the neck/collar stitches...
- Cut leather strips long enough so
that the end (the final stitches) will overlap the beginning point
(you'll be sewing through 4 layers of leather at the end of run).
- Cut them wide enough so that you don't have to worry about missing
the leather on the underside when sewing. A safe width of 1.5" willl
leave about 3/4-1" on the underside if we have 1/2" showing on the
outside. I set the seams about 3/8" in from cuff edge.
On the same note (but a different pitch), you don't have to trim the cuffs with leather. They can be folded inward and sewn.
This leaves the wool to act as the cuff edge. It's just as strong as
leather... and from my estimation, will be just as durable. The only
thing stopping me from doing it this way is the prospect of sewing
through the seams when they are doubled over. I Don't believe it
possible to do this with a home machine. If you have a friend in the
leather business though... Do not hesitate to ask them their opinion on
the choice.

Allright! This is coming along great! I'm seeing the potential to bring Montana to the runways of New York!
Let's see what we can do about...
The Lower Hem >
______________________
MENU:
Jackets
and Pullovers
Hats and Headbands
Mittens
Bags and Cases
Sheaths and Knives
Miscellaneous
HOME
omnabashi@gmx.com


