It took me 5 versions of this jacket before i took the
dive into the pocket arena. I carry most of my stuff in a bag or in my
pants pockets. Adding pockets into a Design that works better without
them, posed a curious dilemma that, ultimately, proved more useful than
not.
Some ideas before we get into why i designed the pockets the way they are.
- The pre-existing seam side pocket.
Common examples of these are the pockets located a little above waist
level on the side body seams. These are easiest in that you simply
split the seam large enough to get your hands into, tack the top and
bottom, and then sew a pre-made pocket into the seam allowance. The
down side is that they are in an awkward location, are difficult to get
your hands in and out of (due to the angle of hand entry and their
vertical juxtaposition), and the location of the bulk when they are
filled (hip wings). Simplicity of execution with bad application result.
- The kangaroo pocket. These
are very easy to add on. Simply sew a chunk of material on the front
body panel and you've got a bolsillo like the popular cotton baja
jackets of the 80's. Advantages are simplicity, ease of access, easy
replacement. Disadvantages include extra layer of heat in that area,
will stretch out eventually, and bulk in the belly. This may be the
best pocket application for those who are inexperienced with sewing or
want a project that doesn't take too much thought. It looks average and it works.
- The map pocket. This is in
the mid-lower back area. A useful pocket sewn in similar fashion to the
kangaroo pocket except three sides are sewn and the top flap covers the
opening. If you don't plan on sitting in a seat with a back, are pretty
flexible, and don't pack with a full size backpack, this may be a good choice for storage of larger items.
- The arm pocket. There really
are no downsides to this one. Great little location to keep permanent
carry items like a firesteel, tinder, matches, etc. Easy to add on to
the yoke by just sewing a hemmed edge square and a small top flap. A single small pocket like this can go a long way.
- The napolean pocket. Formerly
hidden in jackets from the past, The napolean is an easy to use pocket
residing in/on the chest area accessible by only one hand (unless you
are a contortionist). Right handed persons place the pocket on the left
side, and left handers visa-versa. May add a little extra warmth to the
chest area. This pocket can be hidden with access through a finished
split or visible as a patch pocket (material sewn directly onto the outside of the clothing).
- The western pocket. These are
patch pockets sewn directly on the outside, a little above the waist,
on the front of the body panel. These are very easy to add but hard to
clean (patch pockets do not have a liner that you can pull out to get rid of the little stuff inside). They are commonly shaped like a square with one of the corners lopped off. The lopped area is where the hand enters.
- The hidden western. Somewhere
along the design way somebody decided to make the western a little more
fashionable and easier to clean. This pocket combines the shape of the
western with a hidden appeal that makes cleaning the pockets easier.
- Modified versions of the above.
A nip here and a snip there, and you've redesigned the pocket to
accomodate the needs of you! This is where i ended up. I was looking
for a pocket that didn't add bulk, heat, and, wouldn't bunch up, but
was easy to access from any position, wouldn't lose articles inside,
and could be cleaned. The omnabashi hidden western pocket!
No matter what variety you choose, You should always sew/apply the pockets before you sew any further body panels.
This same technique can be used to add chest pockets, napolean pockets,
and arm pockets (uh, it may be too late for that though). Same thing
goes for patch pockets... and this makes a big difference when you are sewing through less layers.
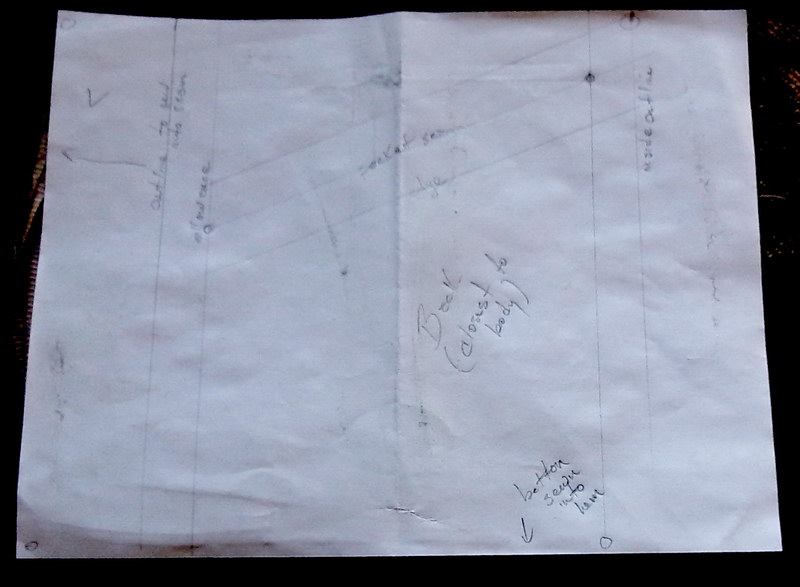
What is this gibberish. Well, i like to sketch out what something will
look like first. Concept>design>mock-up>final. Remember this
is just how i chose to complicate things. You may have a different
vision. Take your time and think about all the possible angles and perspectives to make your concept a reality!
This illustration show is seen looking at the front of the jacket and
the right pocket. My pocket will be 7 inches wide, have a 20deg drop in
pitch towards the body seams. The pockets BACK will attach to the TOP
of the slit cut in the jacket front. The pocket FRONT will attach to
the BOTTOM of the pocket slit. The sides and bottom will be double sewn
with a depth determined by the height of the pocket placement on the
jacket. You can see a notation that the bottom should be sewn into the
lower body hem. DON'T DO THAT unless you want a pocket that cannot be
pulled out and cleaned!
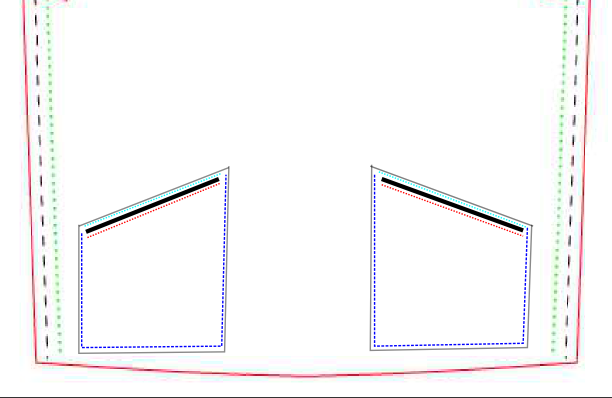
As illustrated:
Thick Black Line - Wool cut line
Grey Solid line - pocket edges folded
Blue Dashed line - Pocket stitching
Red Dotted line - Front part of pocket sewn below wool cutline
Aqua Dotted line - Back portion of pocket Sewn above wool cutline
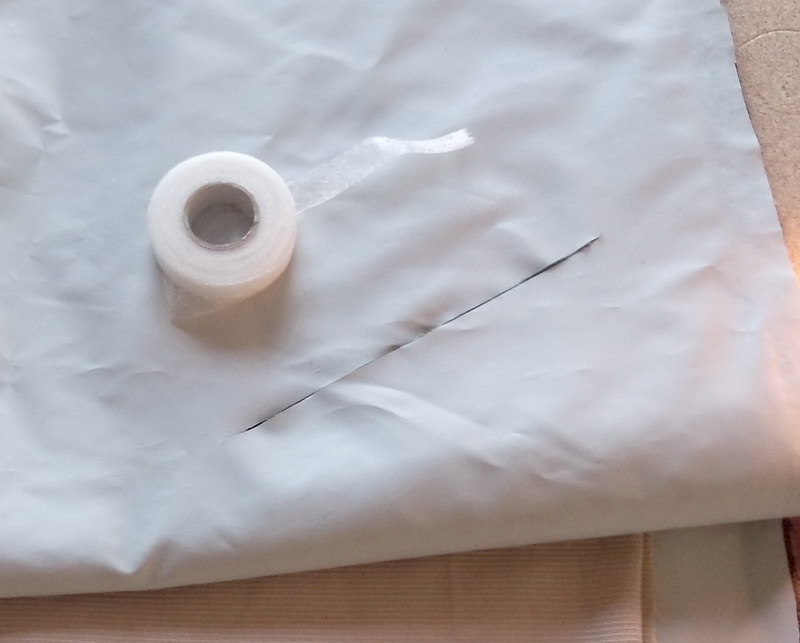
With the jacket front facing, this is the hem folded over towards the
top showing the slit i've made to accomodate a pocket on the front left
side (when wearing). Layout all of you cuts perfectly, measure again,
check it again, look at it from every angle, and then make your cut.
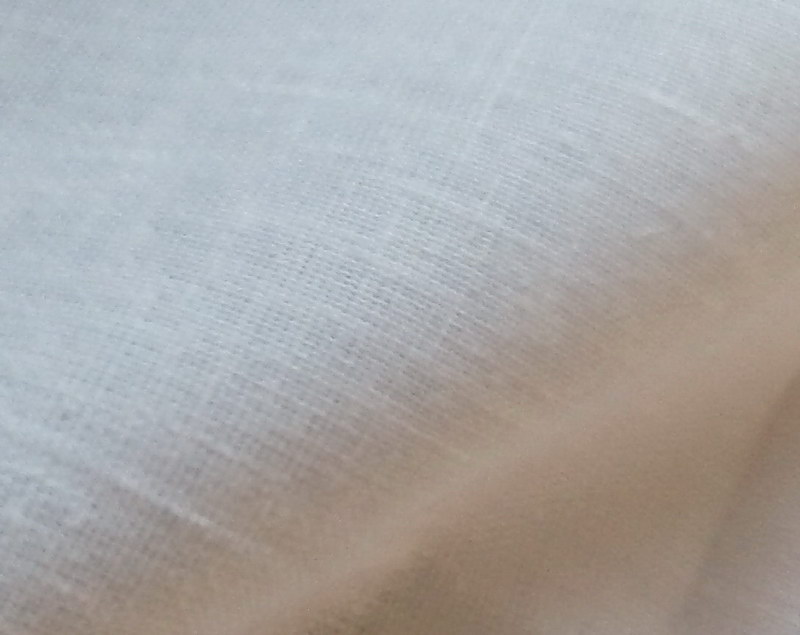
The material i'm using for my pockets is a cotton muslin/burlap. It's a
semi-tight weave and fairly heavy duty. Unfortunately it's also a creme
color which will show dirt until we wash it, but hey, it's on the
inside. Who's going to be looking at it?
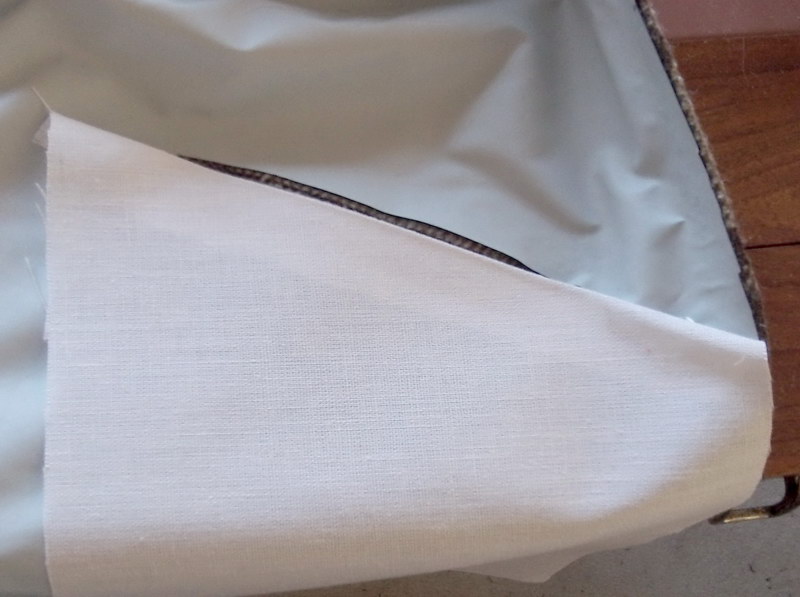
Let's check and see that all of our angles line up. The pocket hasn't
been sewn together yet. On lighter weight materials like this, it's a
good idea to fold the edges in, on every seam, so that the needle goes
through more layers and the thread has less chance of wearing out. The
unfinished edges on this type of material also has a tendency to uravel.
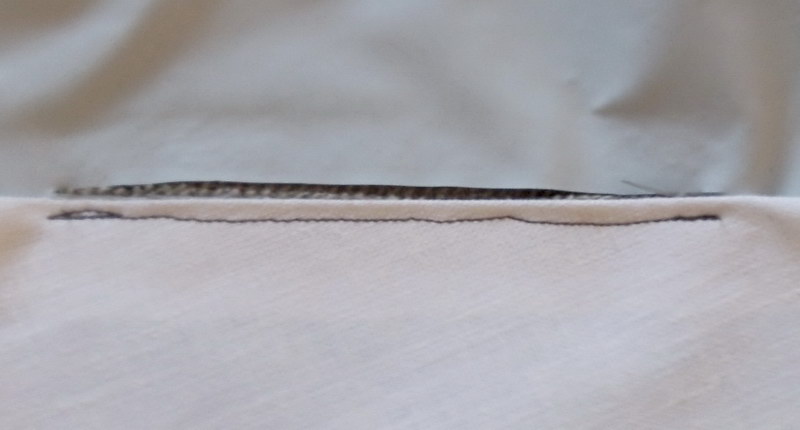
Top edge of pocket sewn to bottom edge of jacket slit. Beautiful straight seems aren't really paramount because it will we hidden by leather trim.
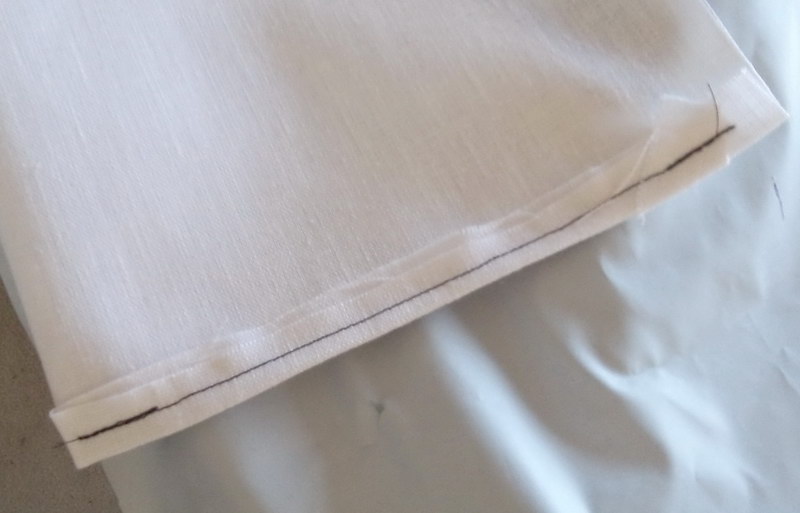
Centermost side of (left when viewing from front) pocket folded and
sewn. Bar-tacks anonymous keeps calling me and offering a seat at their
next meeting. I call them back and tell them i'm too busy bar-tacking
to attend!
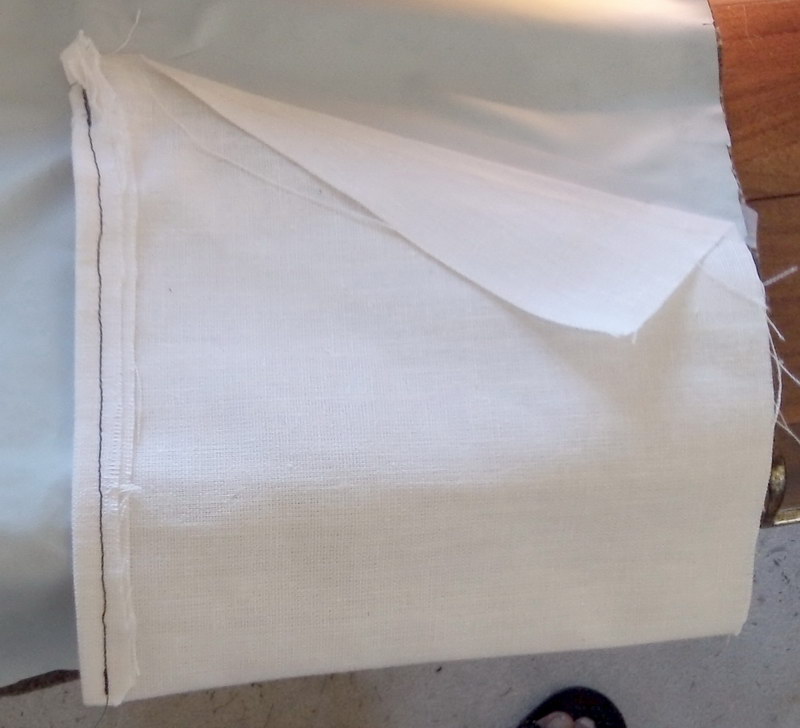
This detail shows that the pocket was cut from one piece of material.
This eliminates a bottom seam and makes it easier to get smaller
objects out of the bottom. Go ahead and sew up the right side of the
pocket. Remember, we are not going to sew this into the side body seam!
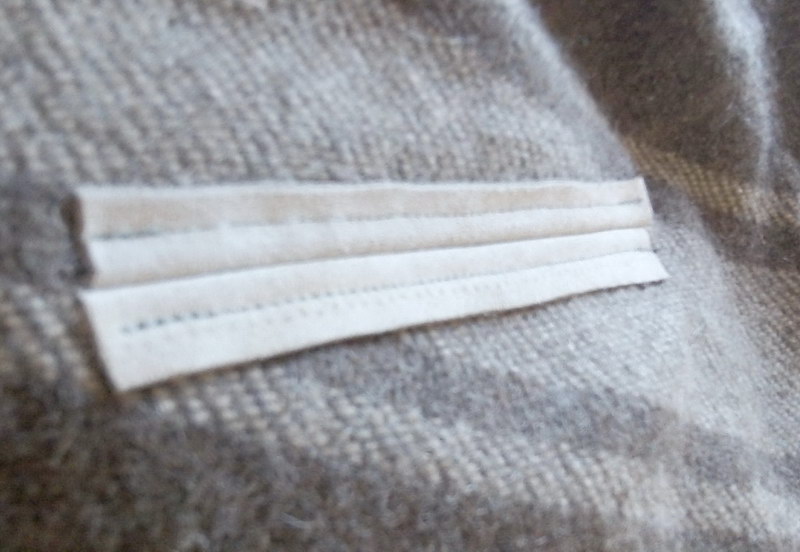
Let's trim these out. This is an area where you could use a jacquard
trim. I prefer leather. Cut the length of the leather larger than the
slit by about 1". This will give our end patches something to bite into
and will save wear on the wool ends.
-before stitching, fold the leather strips in half and mark a center
line lengthwise, on the side no one will see. You'll want to snip on
the centerline, at the ends, a small cut to allow the leather so seat
into slit, but also overlap beyond the edges of the slit. The leather
is our reinforcement as we use the pocket.
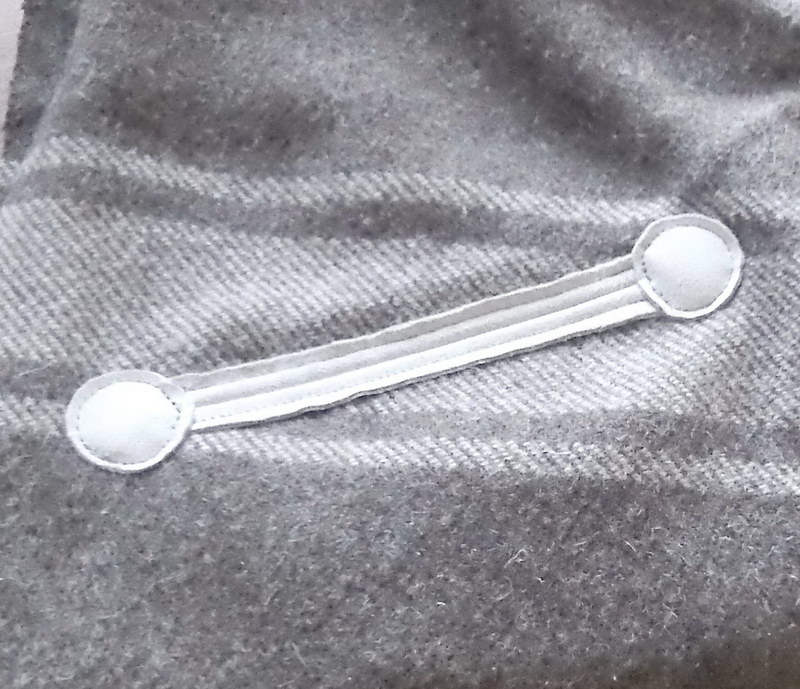
The patch pieces to bring it all together. I used a round shape because
they are easy to cut out. You can do triangles, squares, or any shape
you want!
How about we...
Sew up the sides >
______________________
MENU:
Jackets
and Pullovers
Hats and Headbands
Mittens
Bags and Cases
Sheaths and Knives
Miscellaneous
HOME
omnabashi@gmx.com


