Finally we come to a stage where we can almost put this thing on and see how it fits!
But first...

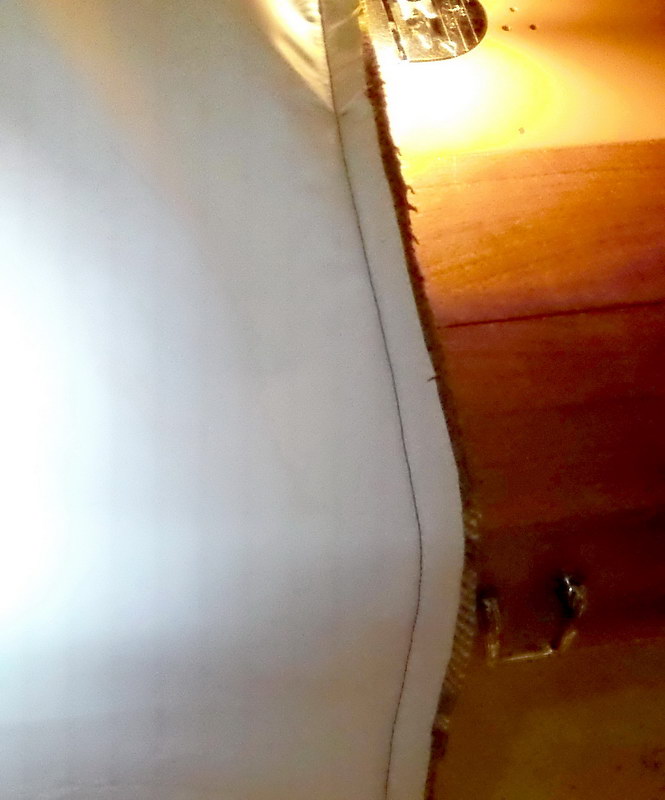
Let's sew up the side seams. Remember how we tack on long stitch runs to keep the pattern matching? There are no exceptions here. 5/8" in from the edge.
Remember, towards the last 5-6", to do a bar-tack every inch.
The reasoning here is that there's a possibility you may want to add
side slits (similar to those on a polo shirt) to make movement easier.
I chose not to because it'smy preference to have the jacket as snug as
possible around the waist to keep cold air out. This is all dependent
upon how long you've chosen to make the body.

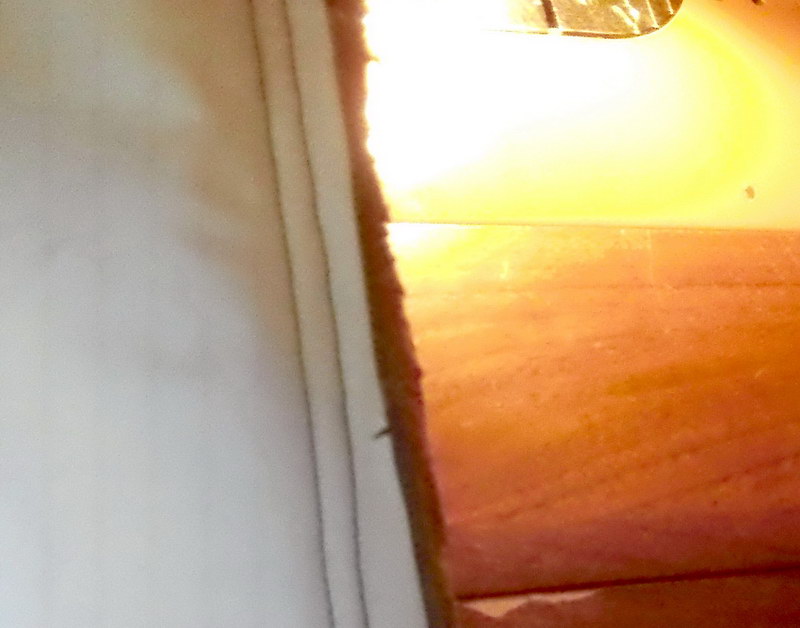
Yeah, it looked like that seam was a little wimpy. Add another stitch, on the seam allowance side, about a quarter inch from the primary stitch. What
does this do? Well, you never know when you are going to add a little
weight or rip some material. We don't want to have a seem blow out and
have our seams to start popping! By adding this extra stitch, we add
insurance against holes and an unraveling mess.

Yes! After your patterns match up, grab some crackerjack and pat yourself on the back. You are doing this well and proper!
We can now sew the underside of the arms.
DID YOU MAKE CUSTOMIZATION CUTS TO THE LINER FOR ARM SIZE? Then you must also make those same cuts on the shell. Use your scraps from the liner as templates to
These pieces should match up pretty close when we...
Tack the liner in >
______________________
MENU:
Jackets
and Pullovers
Hats and Headbands
Mittens
Bags and Cases
Sheaths and Knives
Miscellaneous
HOME
omnabashi@gmx.com


